Setting up your own Valheim dedicated server is one of the best ways to enjoy the game with friends. Instead of relying on one player to host the world, a dedicated server runs separately and keeps your world online even when the host is offline.
In this guide, you’ll learn how to complete a full Valheim dedicated server setup using the official Valheim Dedicated Server tool on Steam. We’ll walk through installing the server, configuring the startup settings, adding admins, and using common admin commands.
Even if you’ve never hosted a game server before, this guide will walk you through the process step-by-step.
What Is a Valheim Dedicated Server? #
A Valheim dedicated server is a standalone server application that runs separately from the normal Valheim game client.
Running a dedicated server allows:
- The world to stay online 24/7
- Players to join even when the host is offline
- Admin controls for moderation
- More stable multiplayer performance
Instead of launching a multiplayer world from inside the game, players connect directly to the dedicated server.
You can learn more about Valheim on the official site:
Requirements for Running a Valheim Server #
Before starting your Valheim dedicated server setup, make sure your PC meets these basic requirements.
Recommended Hardware #
Small server (3–6 players)
- CPU: 4 cores recommended
- RAM: 4–8 GB
- Storage: 10+ GB
- Stable internet connection
For heavily modded servers or active communities, more RAM and CPU performance may be required.
Step 1: Install the Valheim Dedicated Server Tool #
The easiest way to run a server from your PC is by using the Valheim Dedicated Server tool included with Steam.
Install the Server #
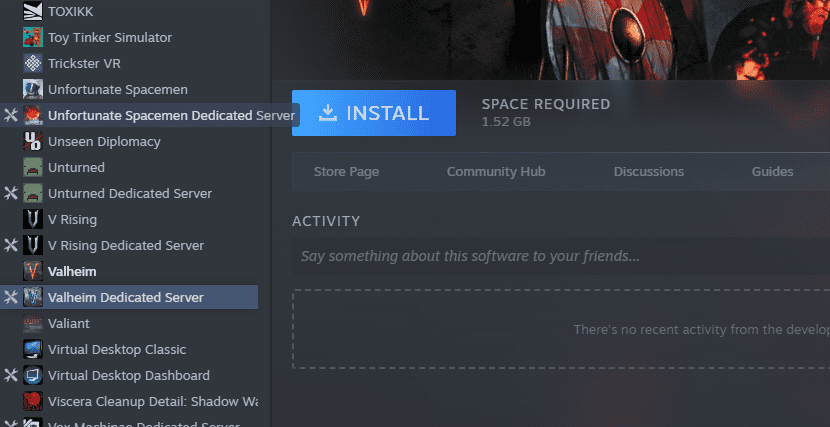
- Open Steam
- Go to your Library
- Change the filter to Tools
- Search for Valheim Dedicated Server
- Click Install
Once installed, the server files will appear inside your Steam installation directory.
Typical location:
Steam/steamapps/common/Valheim dedicated server
Step 2: Configure Your Server Startup File #
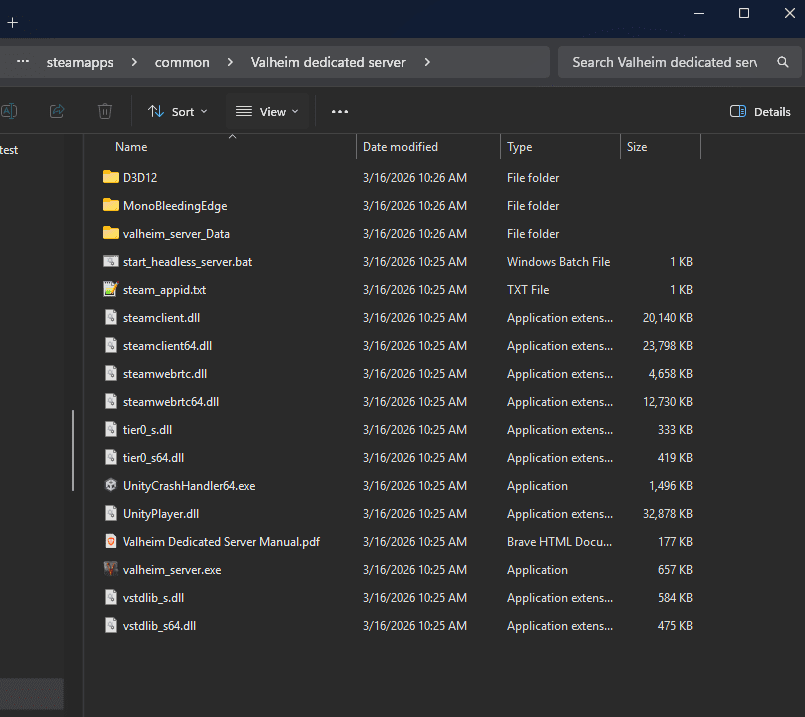
Inside the server folder you will find the startup script:
start_headless_server.bat
This file controls how the server launches.
Open it with Notepad or another text editor and locate the launch command.
The correct launch format should look similar to this:
valheim_server -nographics -batchmode -name "My Server" -port 2456 -world "MyWorld" -password "secret" -public 1

What Each Setting Does #
Server Name
The name that appears in the multiplayer server list.
-name "My Viking Server"
World Name
This is the name of the world the server loads.
-world "MyWorld"
If the world does not exist yet, Valheim will automatically create it.
Server Password
All Valheim servers require a password.
-password "StrongPass"
Password rules:
- Must be at least 5 characters
- Cannot contain spaces
Server Port
The default port used by Valheim is:
-port 2456
Normally this does not need to be changed.
Public Server Setting
Controls whether the server appears in the public server browser.
-public 1
1= visible in public server list0= private server
Step 3: Start the Server #
After saving your configuration:
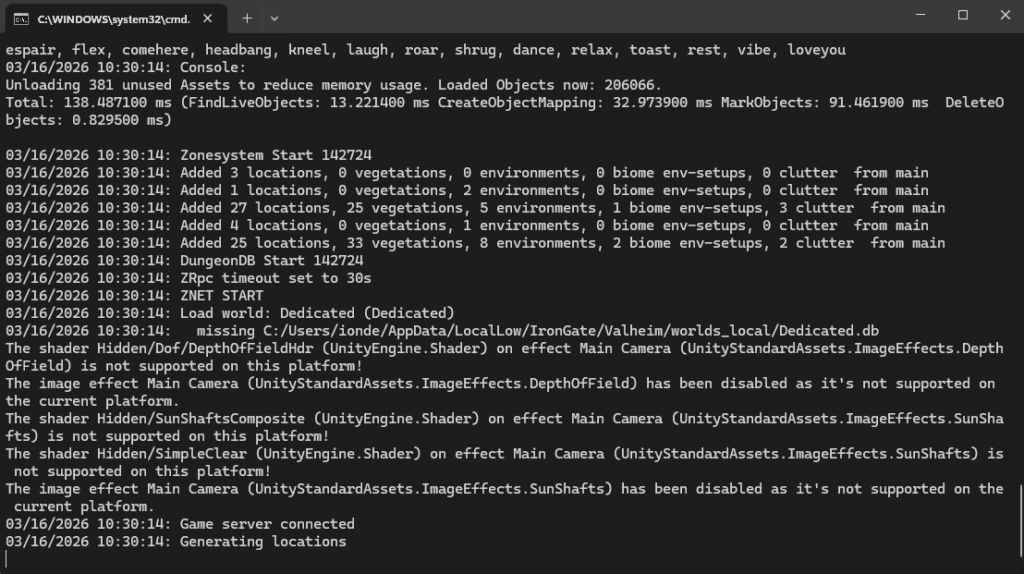
- Double-click start_headless_server.bat
- A console window will open
- Wait for the server to finish loading
When you see Game server connected, the server is ready.
Step 4: Allow Players to Join #
Players can join your Valheim server using either the server list or direct IP.
Join Through the Server Browser #
- Launch Valheim
- Click Join Game
- Select Community Servers
- Search for your server name
Join Using Direct IP #
Players can connect directly using an IP address.
123.45.67.89:2456Step 5: Open the Required Ports #
If players cannot connect, your router or firewall may be blocking the server ports.
Valheim requires the following ports:
2456
2457
2458These ports must be open primarily for UDP traffic.
Typical usage:
- 2456 UDP – Main game port
- 2457 UDP – Server query port
- 2458 UDP – Additional networking port
Step 6: Add Server Admins #
Admins have permission to run moderation commands.
How to Add an Admin #
- Navigate to the server directory
- Find the file:
adminlist.txt
- Open it with a text editor
- Add the player’s Steam64 ID
Example:
76561198012345678
- Save the file
- Restart the server
To find a Steam64 ID you can use:
Step 7: Using Valheim Admin Commands #
Admins can manage the server using console commands.
Open the Console #
Press:
F5
Admins listed in adminlist.txt can run commands directly.
Useful Valheim Admin Commands #
Kick a player:
kick <name/ip/userID>Ban a player:
ban <name/ip/userID>Unban a player:
unban <name/ip/userID>Show banned players:
bannedList connected players:
playersForce save the world:
saveWant an Easier Option? #
Running a server from your own PC requires installing the server software, configuring startup scripts, opening network ports, and keeping your computer online whenever players want to join.
For small groups this setup can work well, but it also means:
- Your PC must stay powered on
- Your internet connection must remain stable
- Performance depends entirely on your local hardware
- Network issues or IP changes can interrupt the server
If you would prefer to skip the technical setup and maintenance, you can run your world on a dedicated Valheim server hosted by Academy Hosting. A hosted server keeps the world online 24/7 and removes the need for local configuration or port forwarding.
Our Valheim hosting includes:
- Instant server deployment
- High-performance hardware optimized for game servers
- Simple server management panel
- Mod support
- Automatic backups
- Reliable uptime
You can view our Valheim hosting plans here:
Players can then connect to the server the same way they would any other Valheim world, without needing the host computer to remain online.


